
It’s the attention to detail that highlights the difference between an amateur job and a professional job show. As your driveway is often the first thing that people will see of your property, it’s worth putting in the time to make a difference. Here are 10 tips that will help your driveway look its best.
1. Pay Attention to Levels
This one applies to all types of driveway. The site doesn’t have to be completely flat and level, no driveway ever will be (see Calculating The Fall On Your Driveway). But take time to dig out high spots and fill in low ones so that there are smooth, undulating rises and falls. Peaks and troughs will show up like sore thumbs after a new surface has been laid.
2. Cut Mitre Blocks at Corners
There’s a temptation to take the easy way out and butt blocks up against one another when you have to turn a corner. The finished driveway will look 10 times better if you take the time to cut mitres for the corners.
3. Put Patterns in Block Drives
A vast swathe of blocks in the same colour will look dull and uninteresting. At the same time, going mad with patterns will look too busy. Use a bold but simple geometric design in a contrasting colour to give interest.
4. Edging Courses for Block and Flag Drives
Just like the patterns above, a contrasting colour edging course at a different angle will give a block drive a quality look.
5. Using Edging Supports for Block Drives
There are now a number of products, some plastic, some steel, that act as a framework for the Edges Of Block Drives. Once fixed in place they provide a firm foundation to support the blocks and hold them tightly in place. The edging strip then covers them up. If you are laying the drive yourself they will help keep everything perfectly lined up, especially if there are curves at the edge.
6. Edging for Gravel Drives
Economising by laying a gravel drive without an edging strip to keep the gravel in place is an expensive mistake. The gravel will spread over whatever is next to it so you’ll have to re-lay it more often. If there’s a lawn next to it, the next thing that will go is your mower when it tries to cut through stone. (See our article Edging For Gravel Drives.)
7. Detailing Around Manhole Covers
With concrete and tarmac, take the time to mask up or cover manholes and other inspection hatches, so that there is a tidy edge around them once the drive is dry. With blocks and flags, consider a border in a contrasting laying pattern instead of just allowing them to interrupt the laying pattern.
8. Pointing With Setts and Cobbles
This is make or break for Cobbled Drives or setts and flags. Point careful and steadily, taking care to put a rounded profile in between the stones to channel rain away. Do not apply mortar over the whole surface and then try to brush or wash it off the flags. With some setts this can be disastrous, as the mortar can bond with the top surface and damage it.
9. Wait for Tarmac and Concrete Drives to Set
Take time with the drying or curing process of laid drive surfaces. If anything, leave it for longer than you need to. The last thing you want is someone sinking into it and then treading it into the house.
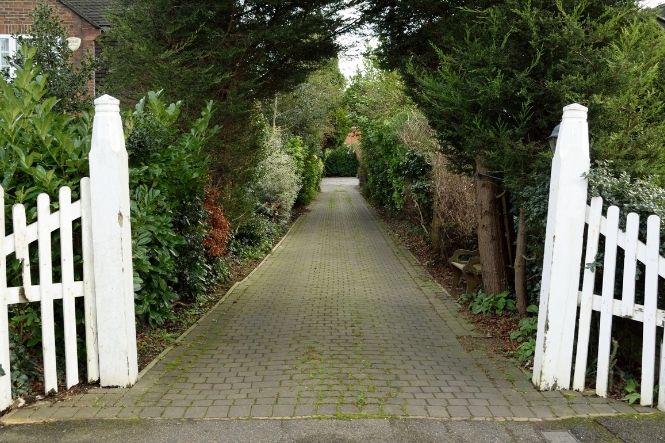
10. Regular Cleaning and Maintenance
Last but not least, cleaning and maintaining all types of drive will help them look their best and last longer. Control weeds before they can take a hold and wash down drives regularly. Rake over gravel to spread it evenly as it packs down and top up jointing sand in loose filled flags.