
If you’re working with a friend or family member who does have some of the tools then all that is needed to complete your driveway would be stones and sand, hired plant machinery and labour costs.
Laying block paving can be one of the best ways to create a driveway, and if done well can look much better than using loose stones or tarmac. There is a bit more work involved but it is well worth the effort if you want a long-lasting and attractive driveway.
Table of Contents
Tools for laying the base of your driveway
The materials you need for creating a block paved driveway are a hardcore base, consisting of rough stones, bricks, or other types of waste rock, coarse sand, fine sand, and your chosen blocks for the paving. The tools you need are varied, but most of them are common tools that you may already own. There are also a couple of specialist tools that you would be wise to hire to make the project that much easier to complete.
The first tools you are going to need to use for a block paving driveway are a strong shovel and a rake. You need these for putting the initial hardcore layer down and spreading it out evenly. Make sure you use a solid shovel, because hardcore is rough, heavy material that will take some effort to move around. The rake needs to be tough too, solid metal rakes are best. It should not be the thin type used for clearing leaves.
Compacting your driveway base
The next thing you will have to do is compact the hardcore so that it is as close to being level as possible. If the driveway is not too big you could use a vibrating plate compactor which can be operated by hand.
If your driveway is particularly large it might be a better idea to use a roller compactor which is generally driven over the area that needs to be compacted. These machines are also used to flatten roads after tarmac is applied, so are only really necessary for especially large driveways. Both these tools can be obtained from most plant hire businesses.
Sand base
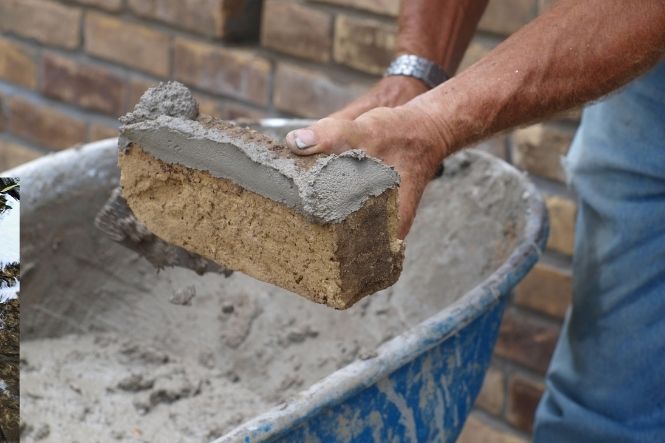
Once the hardcore is flattened you must lay coarse sand down to create the second layer. The shovel and rake will be needed once again for this task, as will one other tool. This is a long aluminium straight edge, used to run over the sand and make it level. Once the sand is level you can go ahead and lay the block paving.
A pair of gloves will save your hands from scrapes and cuts when you lift and place the blocks onto the sand. But the most important tool you are going to need for this stage is a rubber hammer. Each time you place down a block you will need to use the rubber hammer to gently tap the block down into the sand and snugly into place against the rest of the other blocks.
Use string for guidance!
If you’ve read other articles on this site you’ll know that we encourage planning layouts well before taking action. So another tool that should be very useful when laying the block paving is a string line with pegs. Position the line across the edge of the area being paved, with one peg at the start and another where the paving will finish. If you do this along all the edges, the lines will give you an indication of how level the blocks are while you lay them.
Consider a block cutter or disc cutter
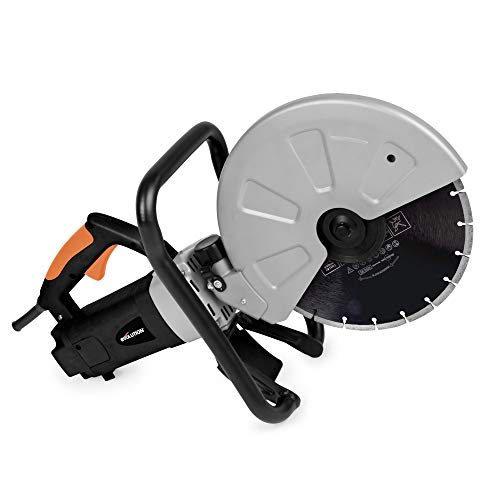
A specialist tool that will be essential if you need to fill in awkward spaces with different shaped blocks, or make blocks shorter to fit ends of runs, is a block cutter. It is best to hire one of these and ask your local plant hire which type is best for the type of block you have to cut. Usually, a disc cutter will be fine to cut stone blocks.
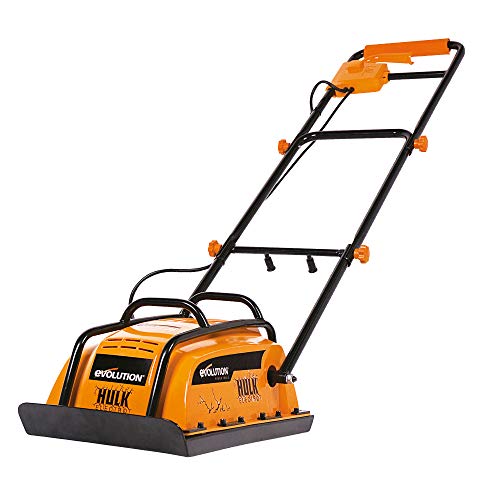
- This electric-powered compactor plate is ideal for surface preparation when the evenly compacted...
- Powered by a 130W electric induction motor means no harmful fumes are emitted (unlike petrol-powered...
- The Evolution compactor plate is a highly reliable, portable, quiet, and low maintenance power unit...
- 110v products can not be plugged directly into the UK mains and are only for use on worksites with...
- Electric motor means no petrol fumes
- Cuts concrete, reinforced concrete, stone, brick and paving
When you pick up the block cutter it is also a good idea to get a protective paper dust mask as well. This is because lots of dust is kicked up into the air when you cut blocks, and a mask will stop you from inhaling any of the irritating dust.
Jointing and finishing
Once all the blocks are in place and you are happy with the finished result it is common to use fine sand to fill the small joints in between each of the blocks. For this final touch you will need to use the shovel again, but will also need to use a broom. Other jointing methods are used and details can be found in other articles here on Driveway Expert.
Spread the fine sand out very thinly over the blocks using a shovel and then use the broom to sweep up the excess sand. Work evenly over the entire area of paving so that all the joints between each block are filled with fine sand.
Take time for the best finish
The most time-consuming aspect of creating a block paving driveway is laying the individual blocks themselves, but unfortunately, there is no tool that will make that any quicker, at least not yet!
You don’t need a lot of specialist tools for successful block paving, but it is worth getting in a vibrating compactor and disc cutter to save yourself time and ensure the finish of your driveway is the best it can be. If you do not own the other tools needed they can be hired or bought at your local builder’s merchants, or you can try asking friends if you can borrow them.