
Many would consider that the best base for pavers is washed concrete sand. However, that doesn’t mean that you cannot install paving slabs on other materials such as concrete. But if you want to be successful in this, it’s essential to take the right approach.
Laying paving slabs on concrete is slightly different to other materials so you’ll need the right tools and techniques. But if you follow the steps in this guide then there’s no reason that you can’t have a perfectly installed patio even if you’re working with a concrete base.
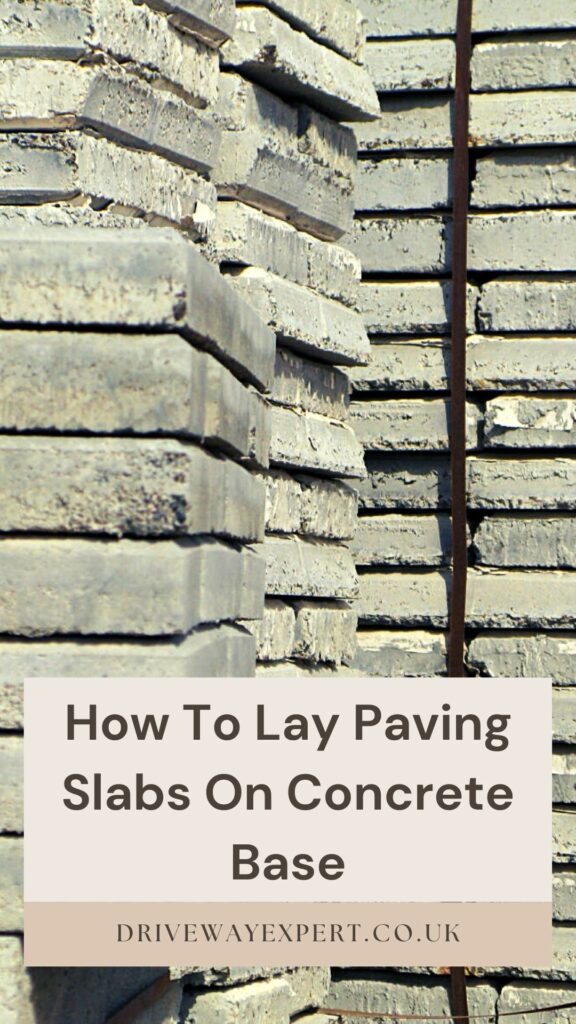
Table of Contents
Can You Lay Paving Slabs Over Concrete?
As with anything there are pros and cons to using concrete as a base for your pavers. Of course, if you have an existing concrete base, it’s a serious amount of work to pull this up and create a new base so paving directly over the top is often the most convenient method. As we have mentioned, it is possible to install pavers over concrete as long as you use the right approach.
That said, it is worth considering the downsides of doing this and in the interests of being objective, we should point these out. For starters, if the condition of the existing concrete surface is anything but smooth, this could hinder your installation. Things like cracks and dents in the concrete will make it more difficult and could result in an uneven finish.
Moreover, you should consider that any defects in the existing surface might mean that you have to place the paving slabs higher. This could lead to obstructions of things like doorways or create a tripping hazard.
For this reason, we would only suggest placing paving slabs over concrete that is smooth and free from imperfections. If the surface is really bad then it might be best to rip it up and start from scratch.
What’s The Best Way To Lay Paving Slabs Over Concrete?
Before you get started with laying your pavers down over concrete, you’re going to need to make sure that you have the right equipment. You will need the following things:
- A brick jointing tool
- Tamper
- Rake
- Spirit level
- Rubber mallet
- Tape Measure
- Shovel
- String and stakes
You should also make sure that you have the right protective clothing for the job including knee pads and a thick pair of work gloves.
Step 1 – Preparing The Concrete
As we have already discussed, you should only attempt to install paving slabs over good quality concrete. If there are too many imperfections, you’ll find the job much harder and the finish will not be as good.
However, if your concrete is smooth and even, you’ll be good to go once you have prepped the area. You’ll need to make sure that there is no dirt or debris on the concrete so give it a good sweep and, if necessary, clean the area with water. Just make sure that you allow it to dry before moving on to the next step.
Step 2 – Priming The Paving Slabs
You will need a priming product which you will apply to the rear side of the paving slabs. This product serves as an adhesive which will hold the pavers in place once you lay them down.
Step 3 – Making The Mortar
In order for your new paved area to be secure, you’ll need to use mortar which is something you’ll have to make in advance.
For this, you will need four parts water for every one part cement. Don’t add all of the water at once but rather add it gradually so you can achieve the right consistency which should be firm.
When you have mixed your mortar, it’s time to apply it to the concrete surface. To do this, start with a layer measuring 30mm across the entire surface you wish to pave.
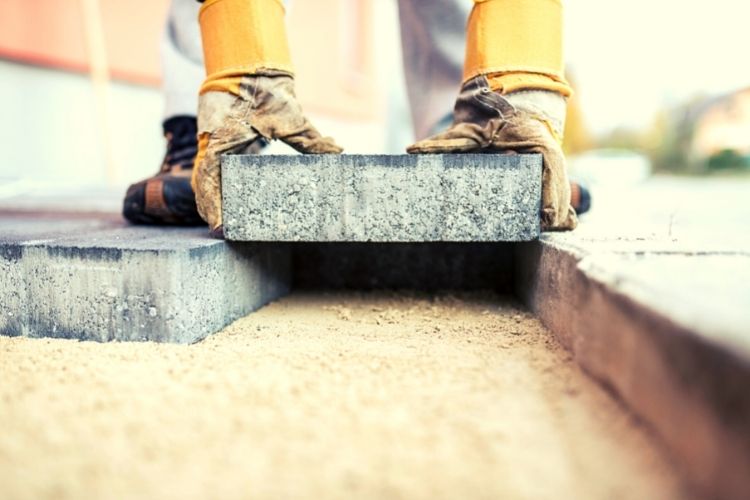
Step 4 – Installing The Paving Slabs
The next step is to install your slabs. Make sure that the layer of mortar you applied is nice and level before putting anything down. As you place the slabs, you will need to leave at least a 10mm gap between each one.
Don’t rush this process as you’ll want to make sure that everything is level and even. Double check this using your spirit level as you work. Once the slabs are on the ground, take your rubber mallet to force them into the correct position.
Step 5 – Filling In The Gaps
It is vital that, once you have installed the paving slabs, you fill the gaps between them. Why is this so important? It ensures a stable and secure paved area that won’t move around over time.
You can use the mortar mix you made earlier on for this but you’ll need to be careful not to get any of it on the tops of the slabs. This will potentially stain them and ruin their appearance. The best way to apply the mortar to the gaps is by using a brick jointing tool which will help to smooth everything out in between the slabs.
Step 6 – Time To Wait
We know that, after all your hard work, you’re probably keen to start using your new paved area as soon as possible. However, it is important that you wait at least 24 hours before applying any weight to the area as this allows the mortar time to set.
In some cases, this setting process may take a little longer, particularly in wet weather. Check the area after 24 hours to see how it’s coming along and if it needs more time, give it this. Using the paved area too soon could result in unevenness and you’ll only undo all of your work.
Conclusion
A paved area not only looks attractive but it can serve multiple purposes. You might want a new driveway or perhaps a patio where you can entertain guests. However, if your existing surface is made from concrete, you might think that it isn’t possible to install paving slabs over the top.
But that is not the case. It is possible to lay paving slabs on a concrete base provided you use the right tools and techniques. This easy guide tells you how to do things in simple steps so you’ll have the paved area of your dreams without having to rip up the foundations; now that really will save you some effort!
